

Headshot Lighting - Why Each Light I Use Matters
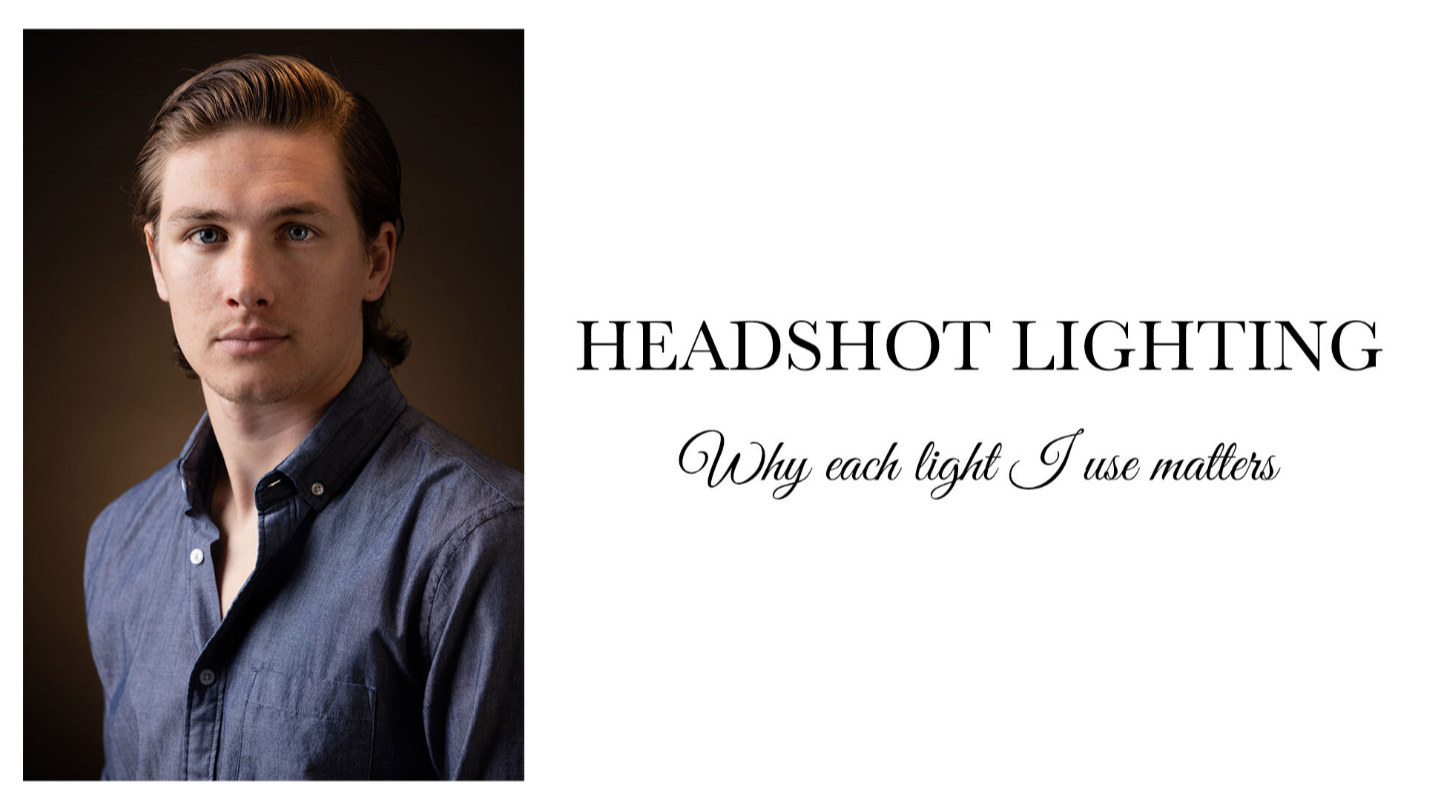
Headshot Lighting - Why Each Light I Use Matters
Studio headshots are a pretty straightforward type of photo. There’s a bit of room for creative interpretation, but as a general rule, the composition and lighting tend to look pretty similar in the majority of great professional headshots. The tried and true methodology relies on just a few simple lighting locations.
Key Light - The main source of light that will brighten most of the subject
Fill Light - The secondary light opposite the key light that fills the shadows and leaves room for brightening in post
Hair Light - A smaller light above the subject that illuminates their hair and creates an added sense of separation from the background
Backdrop Light - This adds depth and a natural gradient to the backdrop, also further separating the subject in the foreground
Every photographer uses a lighting setup that works for them based on their equipment, space, and personal preference. I’ll be taking you through the gear/setup I use for headshots while explaining why I use them and what each one does for the final photo.
Examples
Since this was written during a pandemic and my roommate is bald, I used myself for this series of raw photos. Take a look at these three and see if you can tell what’s missing.

Before editing, you’ll already notice that these photos don’t quite feel complete, each for their own reason.

I’m not sure the first photo even really requires an explanation for why it’s wrong.
Without a Key Light, you have no usable image. It’s the main source of brightness for your photo and everything else is a supplement.
Note that you can see the other lights doing their jobs - The Backdrop Light creates a gradient, the Hair Light helps to accent the top of the head, and the Fill Light keeps the opposite side of the face from being obscured in darkness, allowing more detail to be brought out when editing.
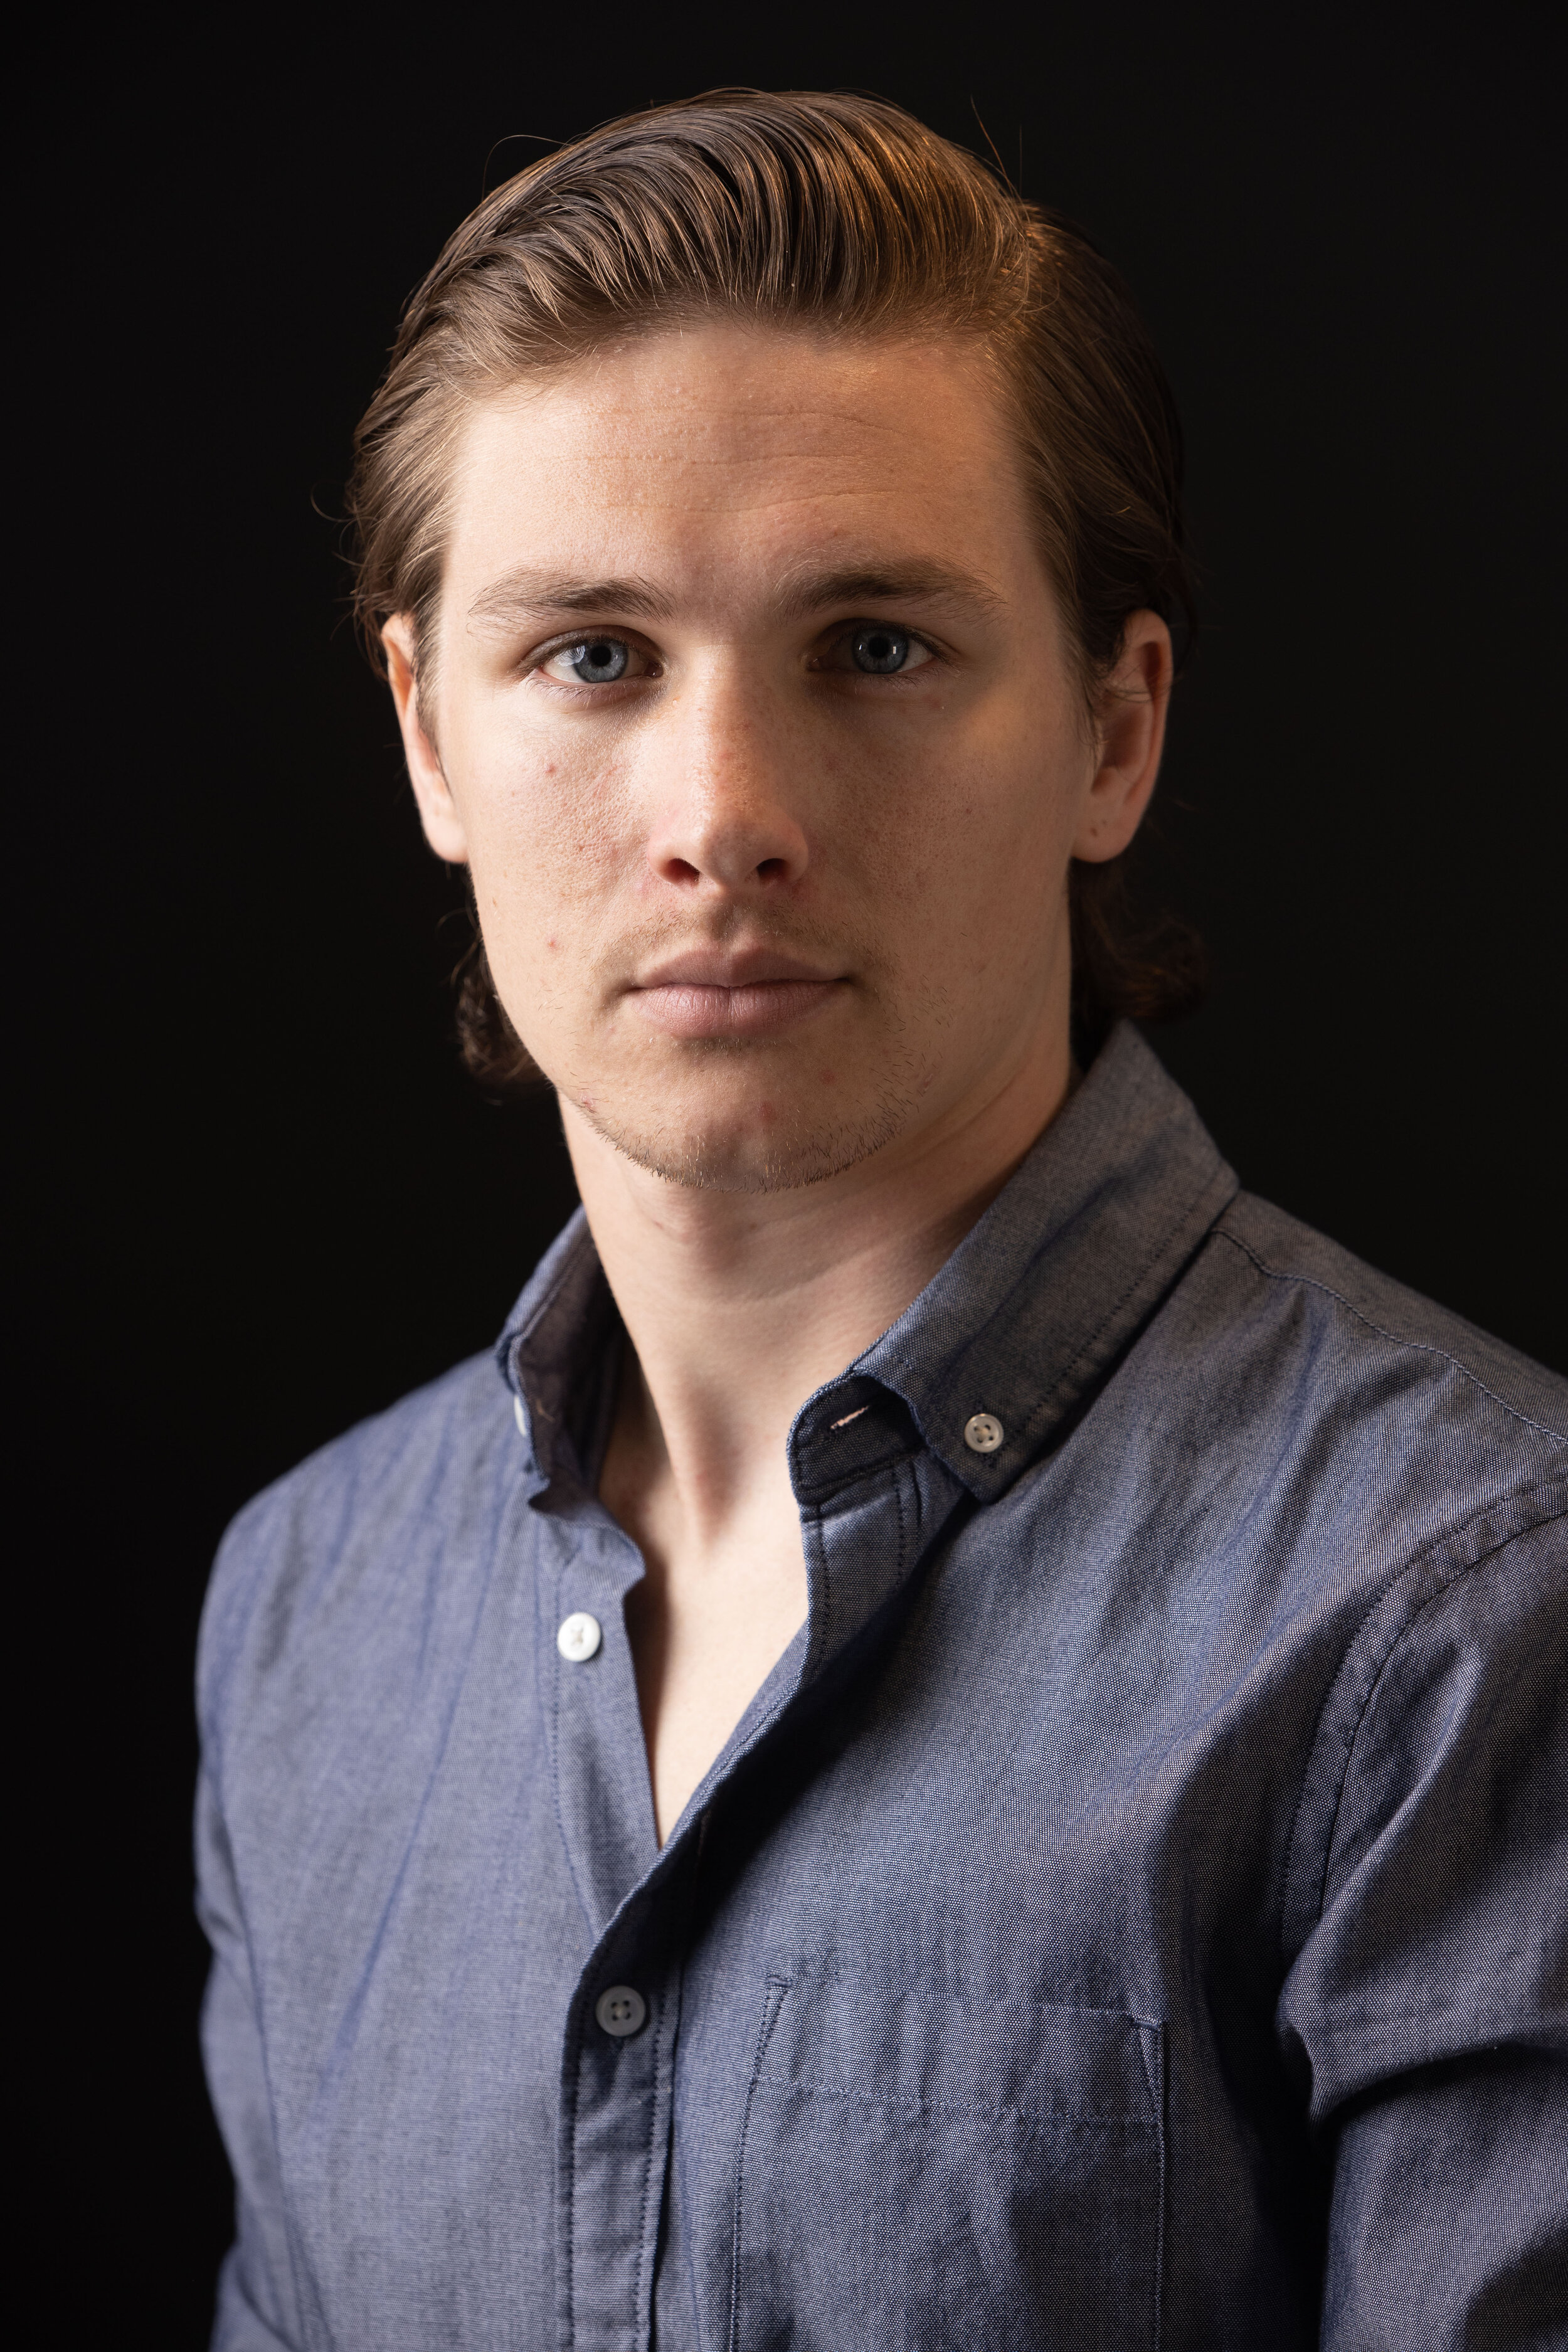
The next photo is missing the backdrop light.
This style may be okay for a wider portrait or a dramatic profile shot, but in the world of professional headshots, it doesn’t quite work. No matter what backdrop you use (mine in this series is Savage Universal’s Thunder Gray, which I like for its warmer tone and versatility), it won’t show correctly in camera if it’s not properly lit.
The way my studio is set up, the subject sits about 6 feet in front of the backdrop on a stool with the Key and Fill lights almost parallel on the sides. I block the Key light on the backside so that none of it spills onto the backdrop and I have full control over the very important backdrop light.


The third photo is missing the fill light.
While not absolutely critical, the Fill Light makes the scene less dramatic. Single light portraits tend to have much more contrast from one side of the face to the other. Again though, in headshots this isn’t the most ideal setup. A slight degree of contrast is necessary, but a potential employer wants to see the subject’s whole face.
Using a fill light makes it easier to bring out some of the finer details and without it, the whole photo may look less natural when you raise the shadows. I use the Neewer 960 Bi-Color Dimmable light for control over the color temperature and intensity. I use the same light for the backdrop.
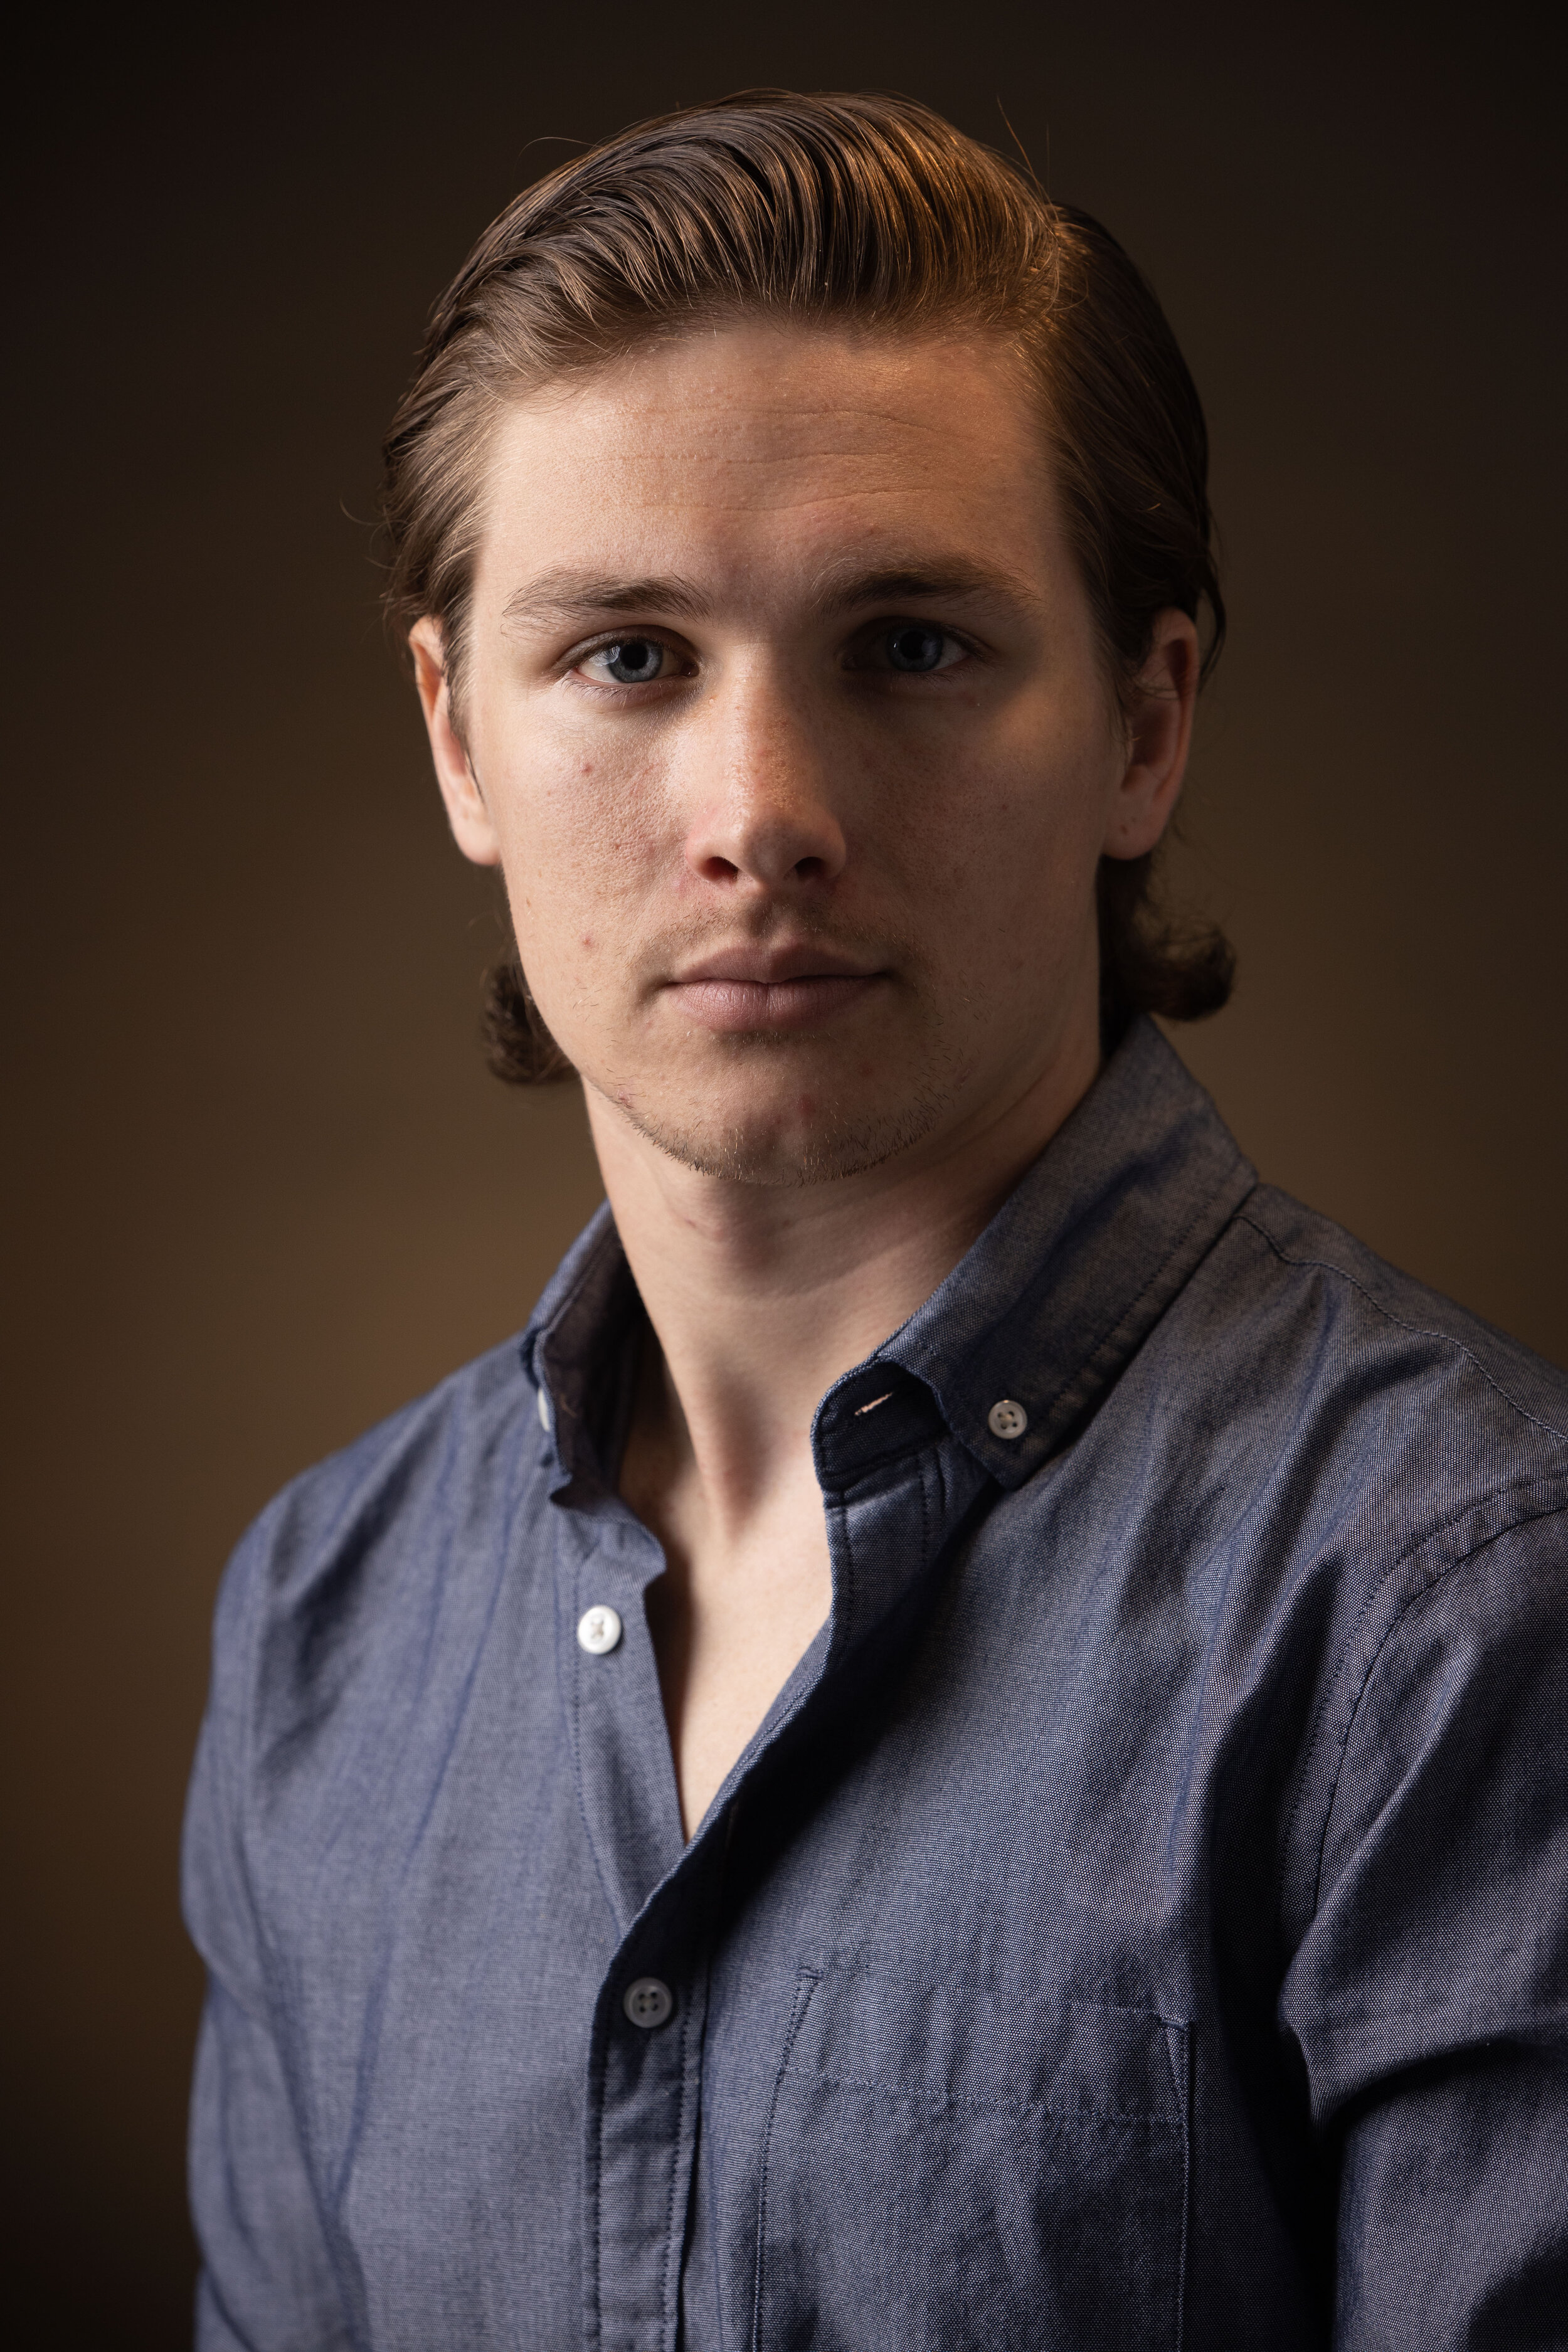
The last photo is missing the Hair Light.
In this instance, the Key Light accented some of the top of the hair, but the right half has no definition and the edges began to lose detail. I use the Neewer 160 Dimmable Compact light as a hair light and use its orange filter to warm the hair highlights.
Admittedly, the Hair Light is a far more subtle addition than the other three, but it still goes a long way in accenting the hair and creating a “halo” between the subject’s hair and the background.

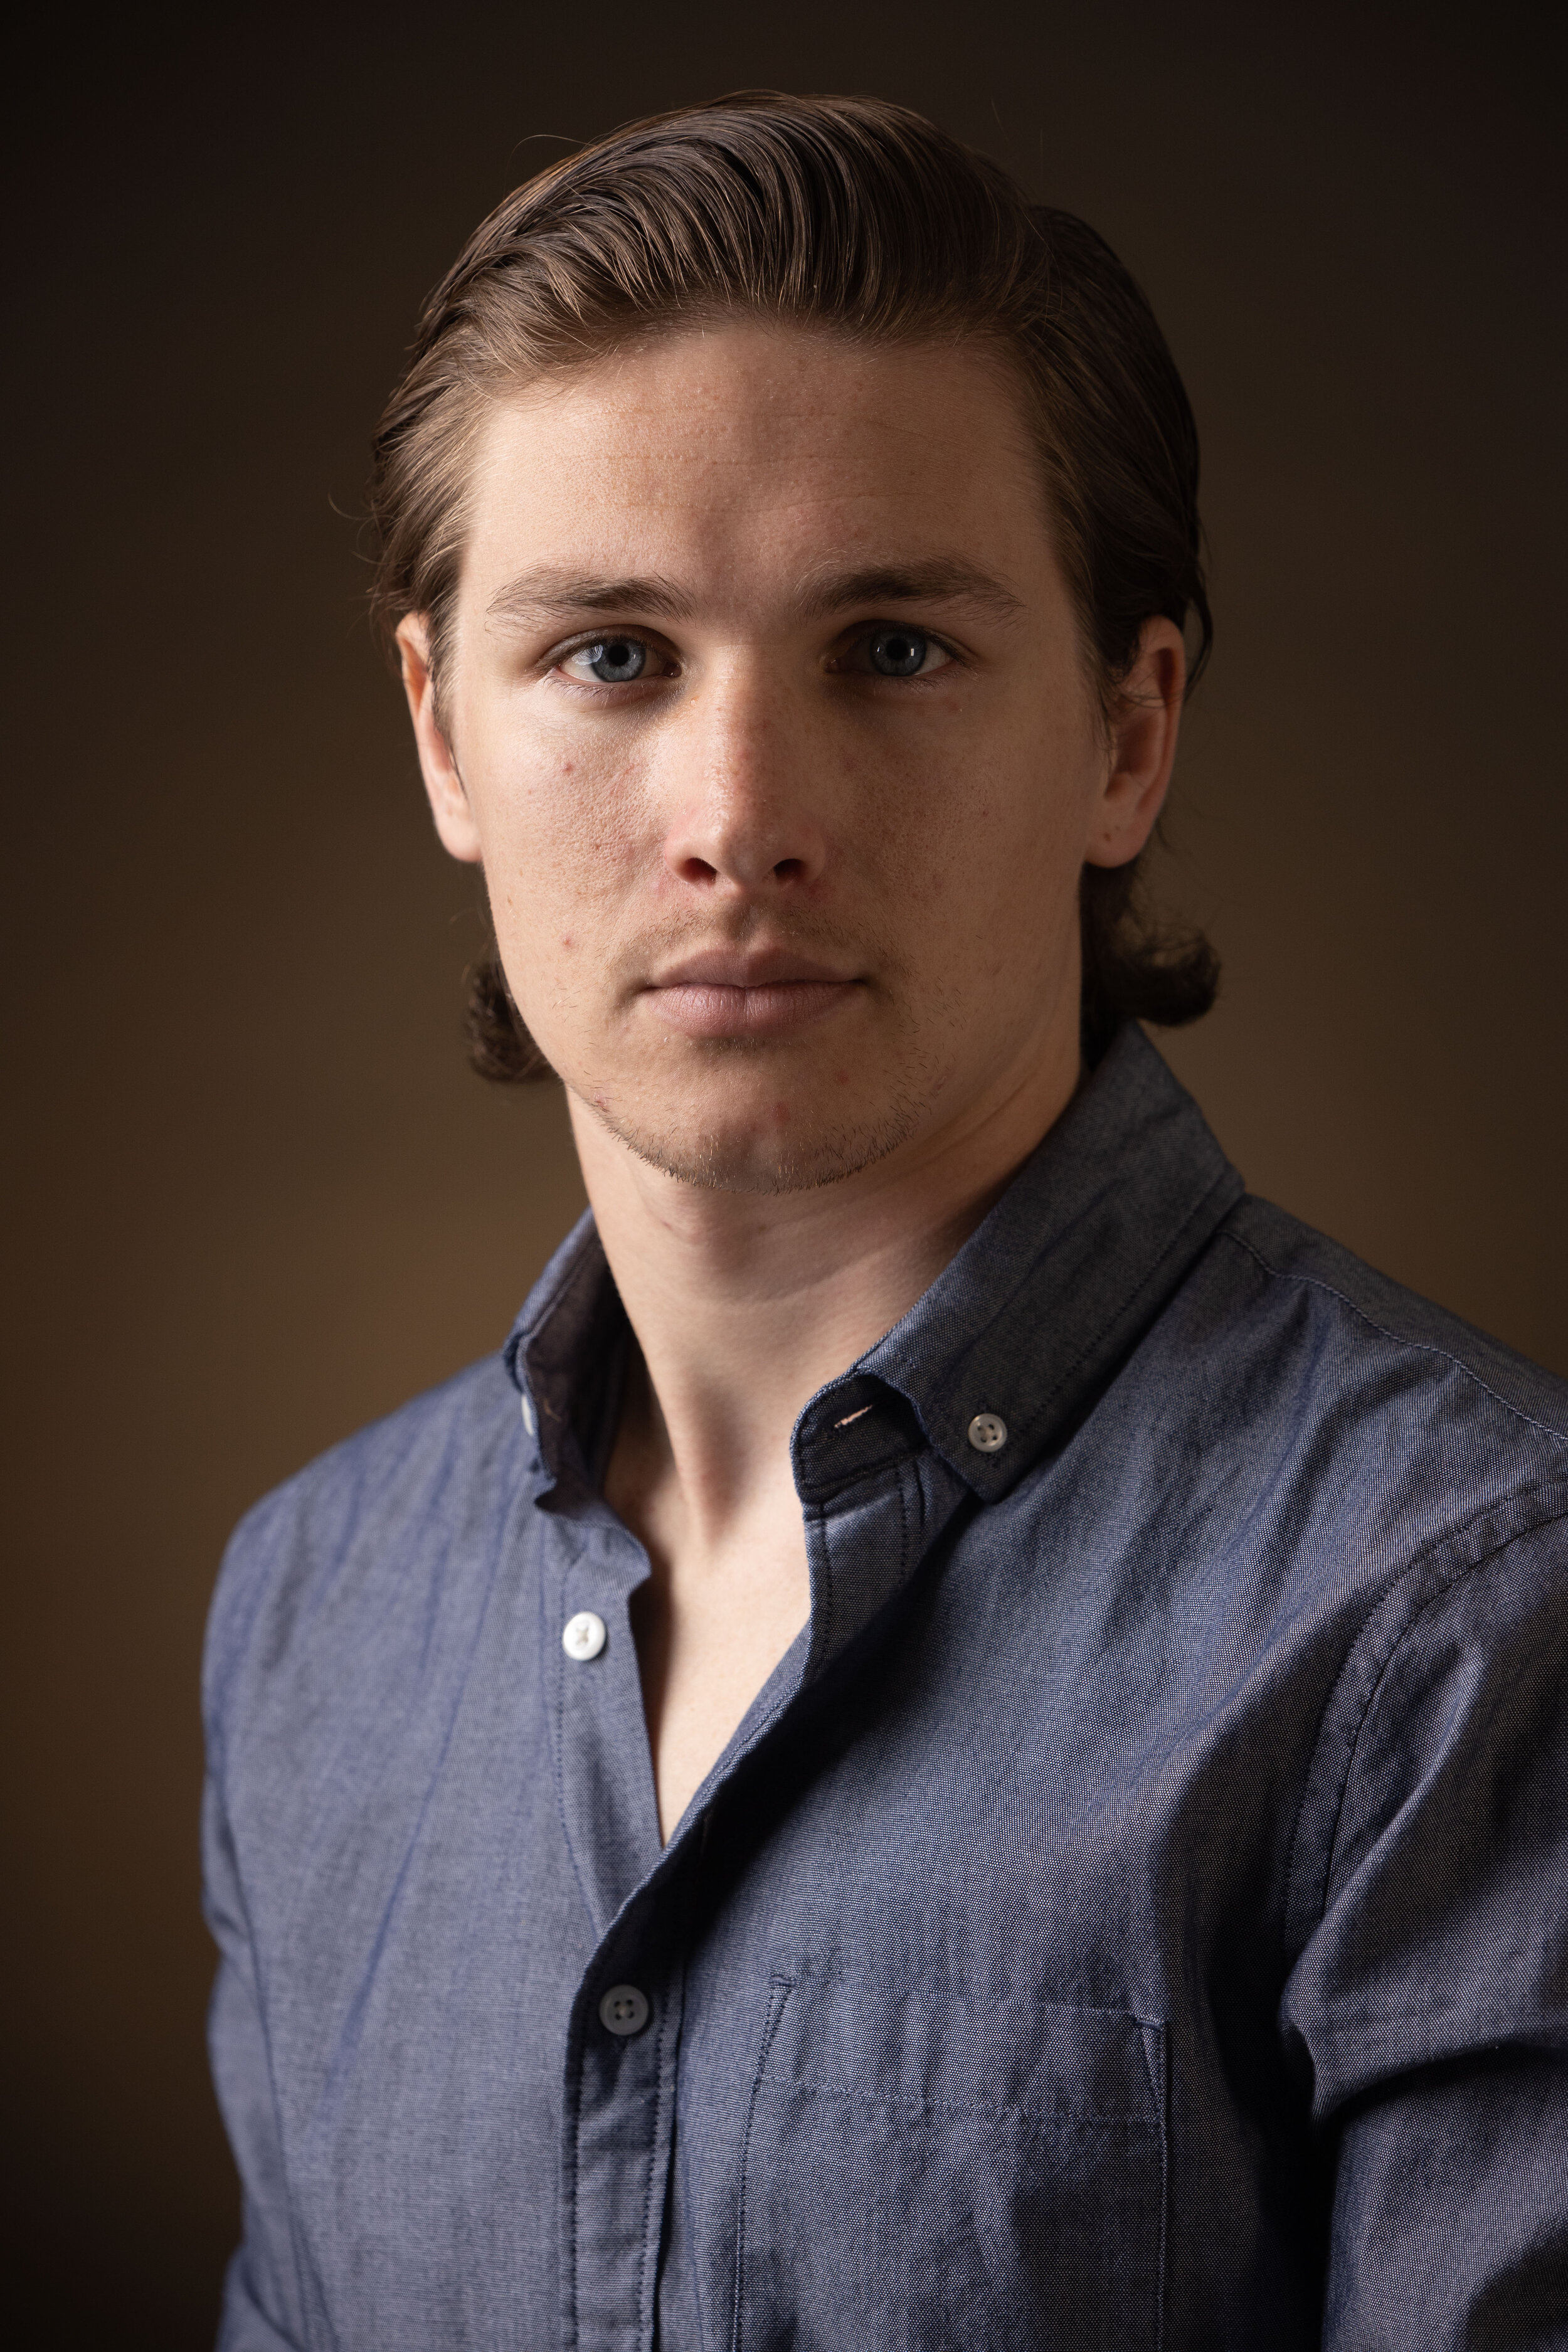
All Together Now
With all 4 lights together, the headshot begins to come together and ends up being a lot more manageable in editing than any of the previous photos would have been.


Edited
Raw
What could have been a fairly difficult final edit was made far easier by the fact that the lighting was set up optimally for the situation. Now you know why each light is important.
I make a mean cup of coffee if you give me the right ingredients.
- Ice Cube


